
Get Started
Build, test, and publish your first Trodo workflow.
An agent goes from idea to live in a few steps. From template on the Agents page starts from a ready-made one: triage alerts into issues, triage then open a GitHub issue, triage then hand to your coding agent, or a weekly issue digest.
New agent opens an unsaved draft; nothing exists until you save it with a name.
Add a trigger. Start from a trigger: manual, a schedule, a webhook, an alert, or a Slack event. The trigger decides when the agent runs and what data it starts with.
Add nodes. Drag in nodes and connect them. Query your data, branch with an if node, run an AI agent or some code, then end with an action.
Connect integrations. Slack, Linear and the GitHub App connect under Settings → Integrations; a GitHub token or an MCP server is added inside the step that uses it. See Integrations. AI nodes need a model from Settings → Models.
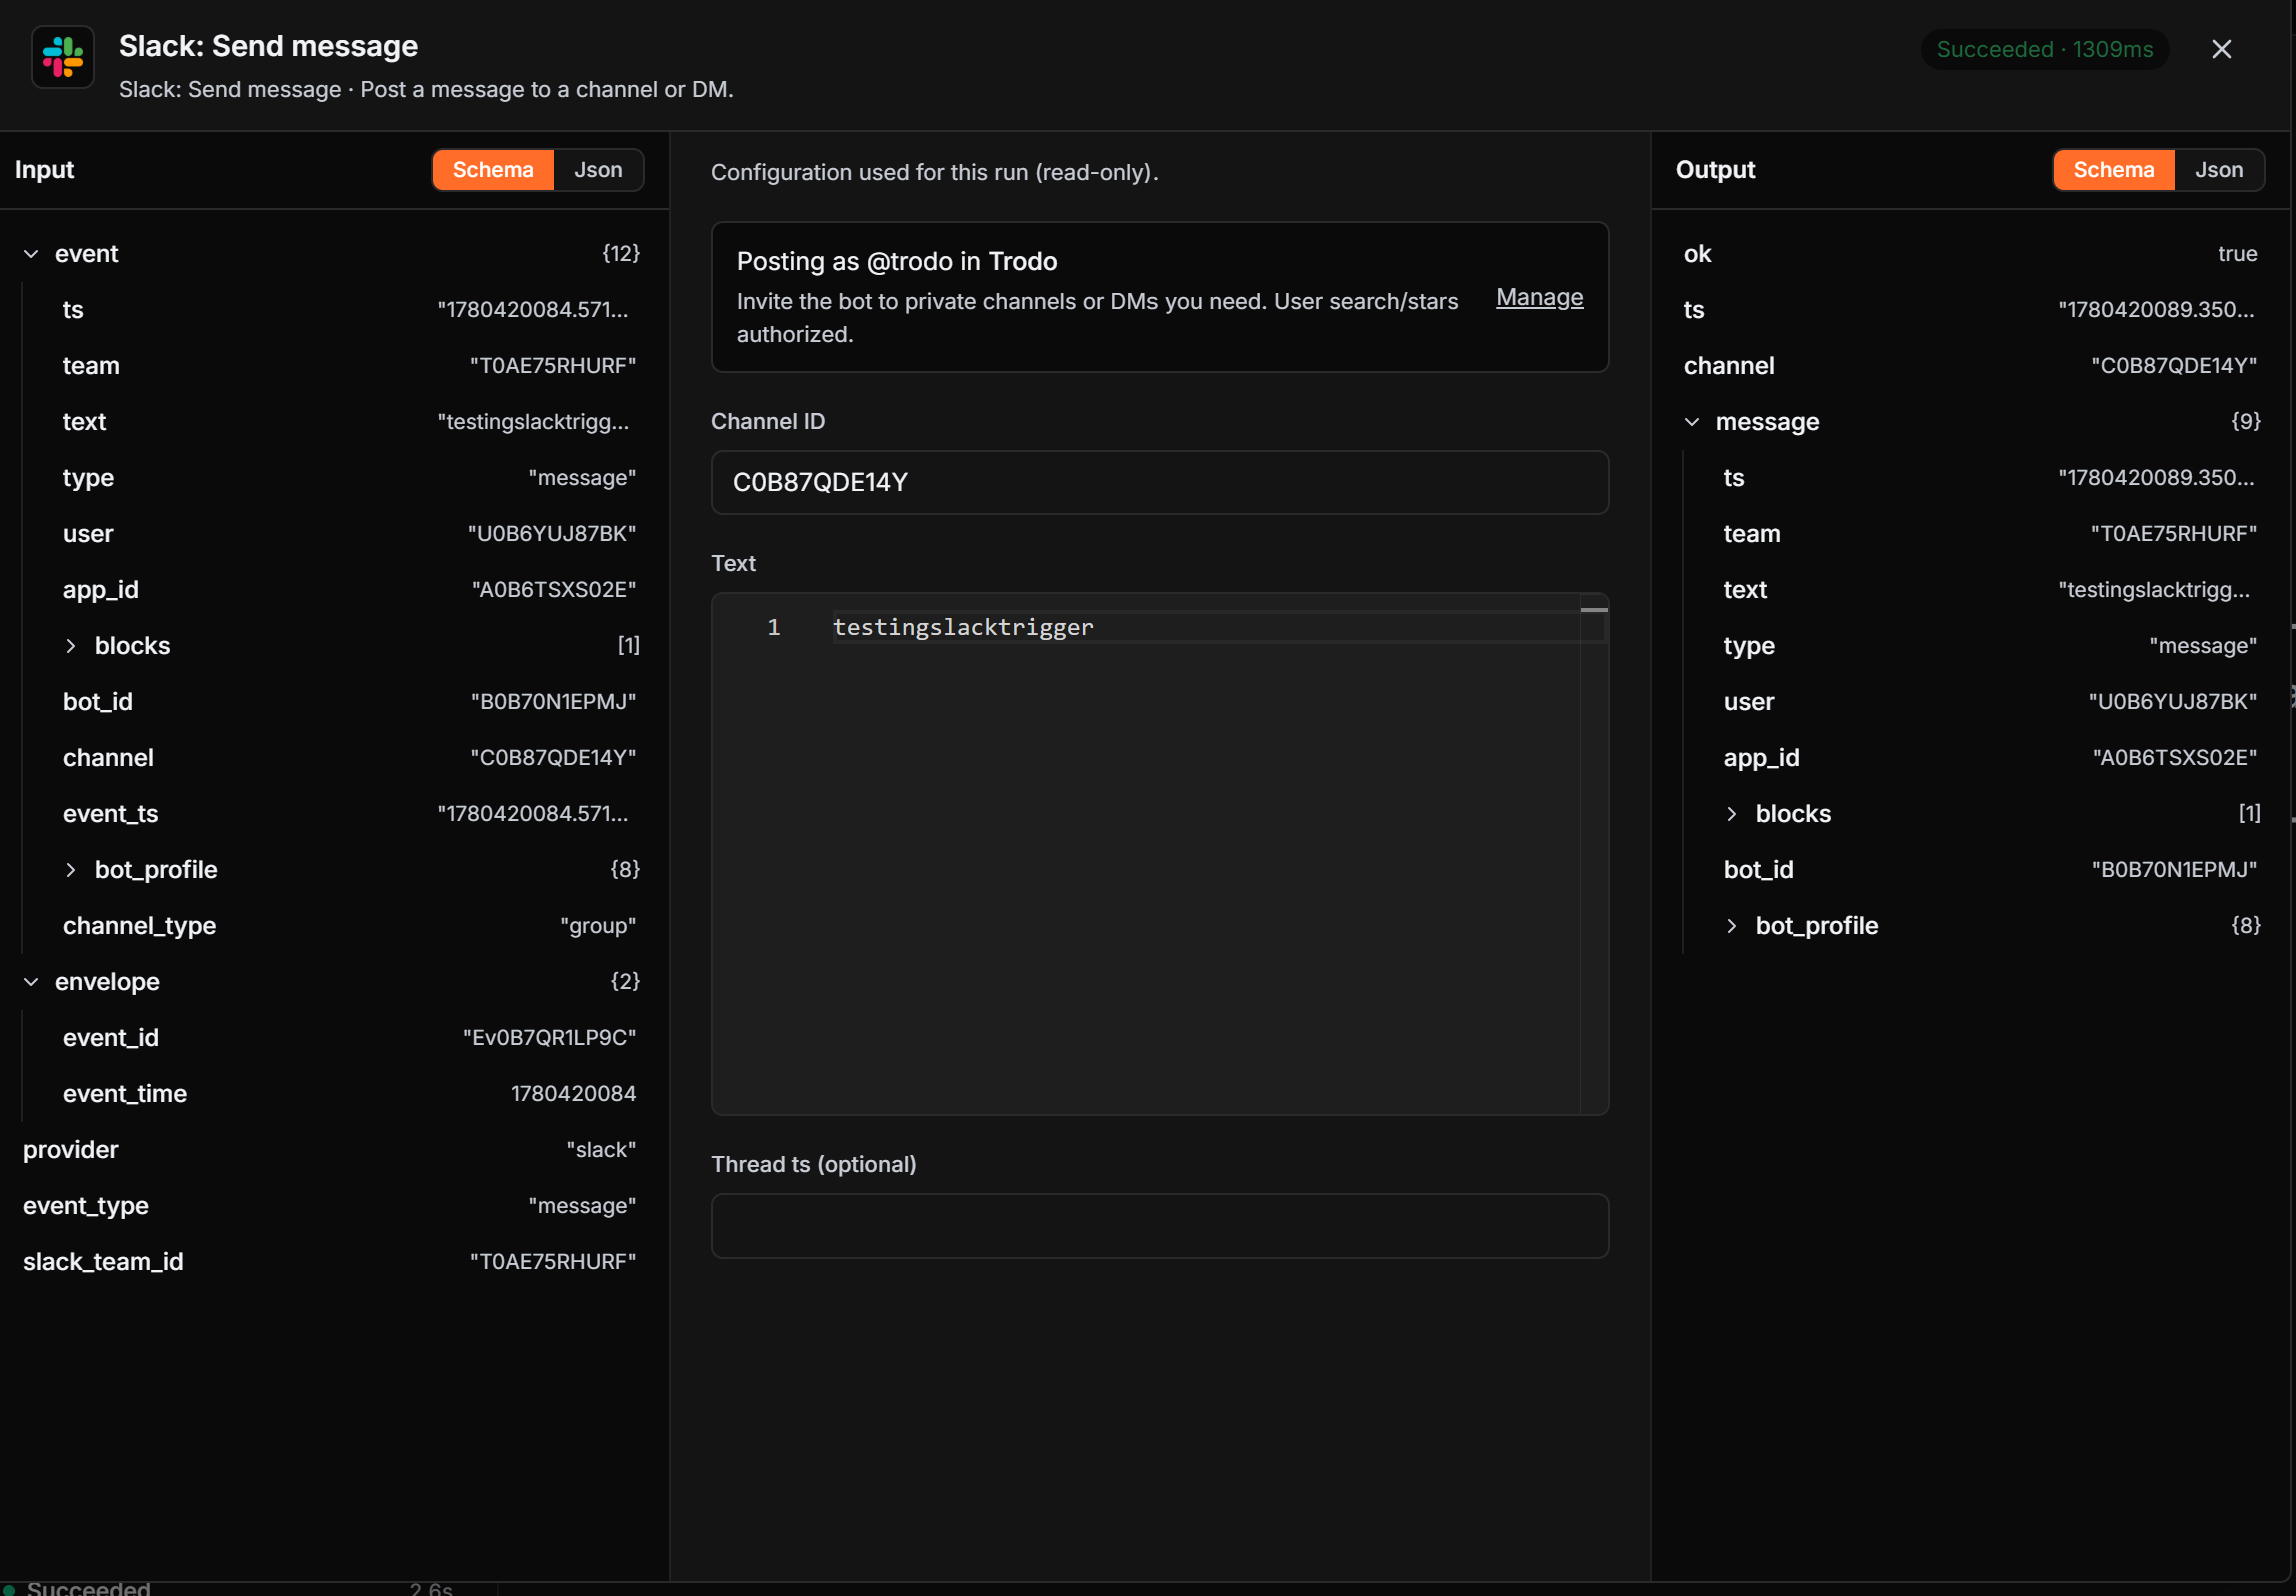
Test it. Run the workflow manually and inspect each step's input and output. You can run from a node using the output of previous nodes, so you iterate without re-triggering the whole thing.
Publish. Publishing snapshots the workflow to an immutable version and arms its trigger (schedules register, webhooks go live). Every run is recorded so you can inspect what happened.
Expressions
Nodes pass data forward. Reference earlier output with {{ }} expressions, for example {{ $json.field }}, {{ $trigger }}, or {{ $node["Query"].output }}. Expressions are evaluated safely (no arbitrary code).